We had decided to again, use the Russians and Austrians as a divergence from the Peninsular War theater so often done. This map illustrates the Austro-Russian deployment zones and reinforcements. Timed reserves being a core feature for both sides during this battle. Both Russians and Auastrians having two infantry brigades, the Russians two cavalry and the Austrians one cavalry brigade.
The Bavarians have a large deployment zone and all of their forces begin as deployed. The Bavarians also have two redoubts that act as gun emplacements. The cavalry force is on the French right, consisting of a light cavalry brigade and two brigades of dragoons. The cavalry would be the only real advantage for this side.

Russian entry onto the field. Seven line battalions, one guard and light cavalry brigade of two cossacks and an uhlan unit.
My French infantry brigades consisting of the 2nd & 4th Legere and the 36th and 70th line. The La Haye Sainte model gets its debut on the field, but never gets assaulted.
The first Austrian infantry brigade with quite a few large battalions and then an Austrian Kuirassier brigade.
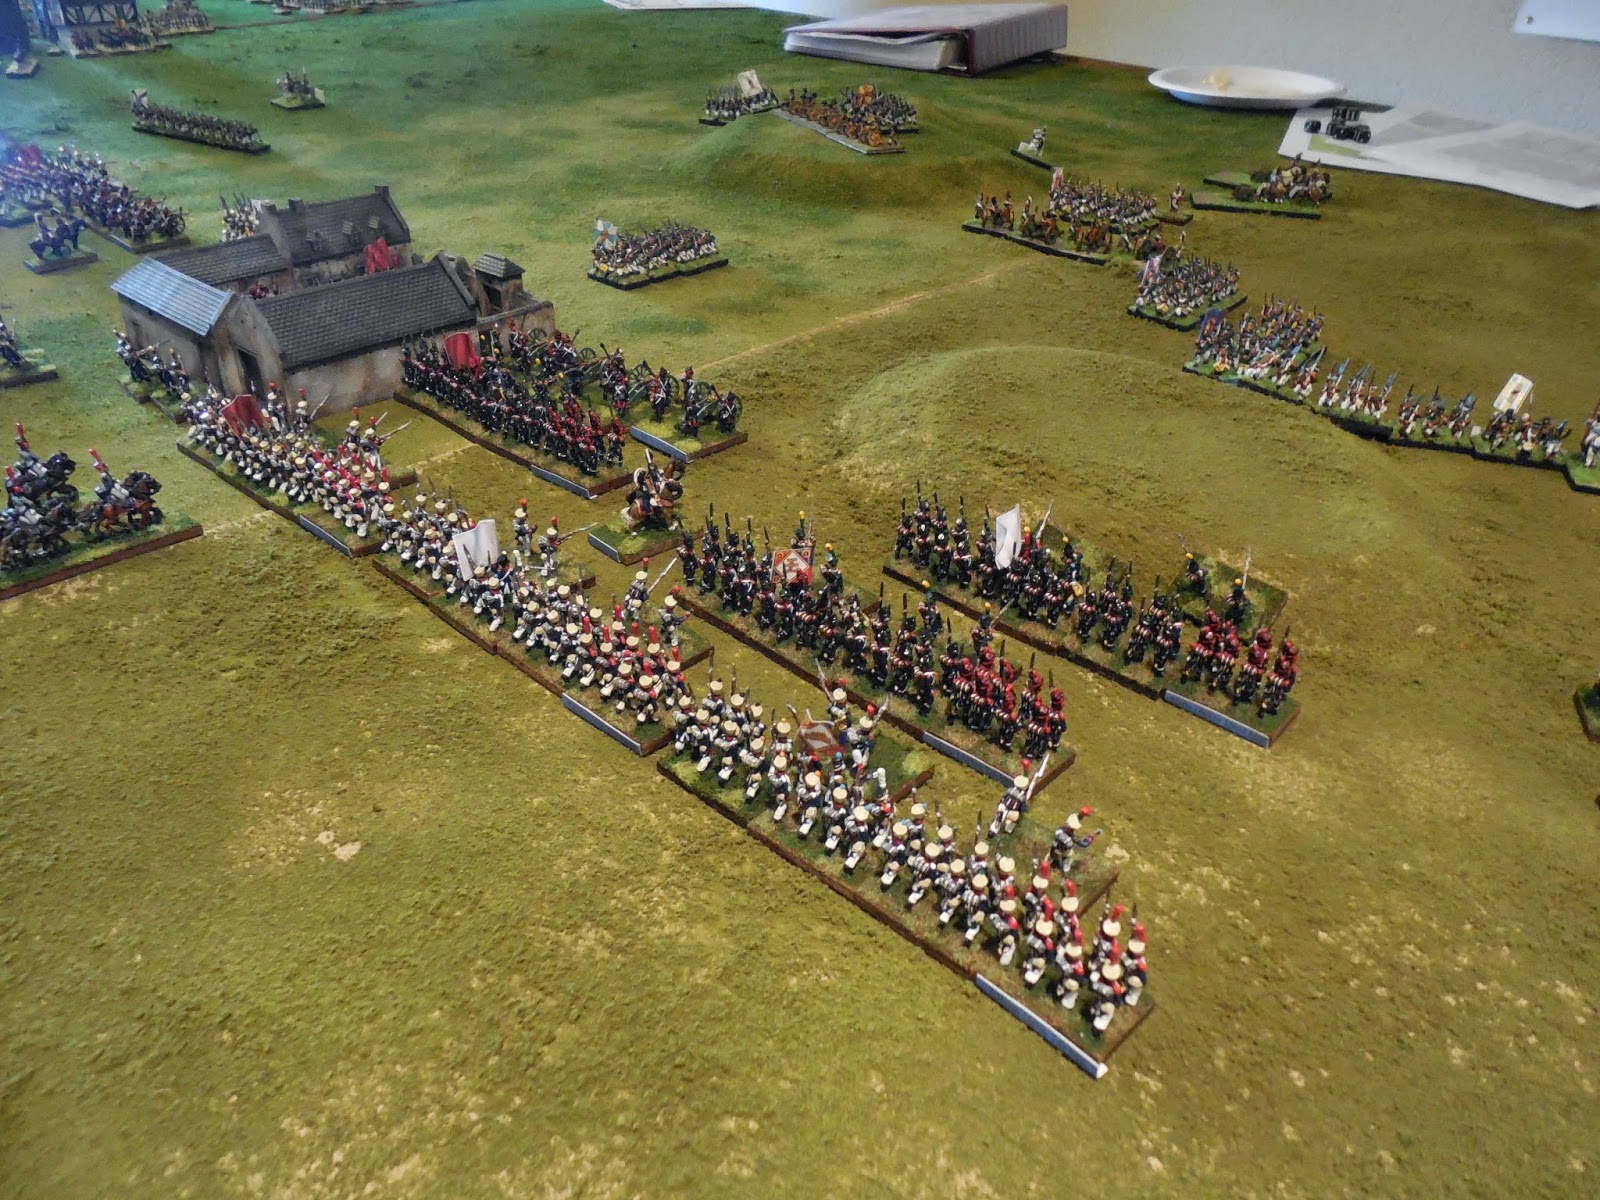
My Bavarians under the command of a friend. This command contains nine line battalions and three jaeger. Given the large amount of cavalry that would come on later on the other flank, it might have been wise in retrospect to give them their light cavalry brigade.
A rear shot of the Bavarians opposing the initial Austrian spearhead. The Austrians wisely move around the massed artillery in the center of the position.
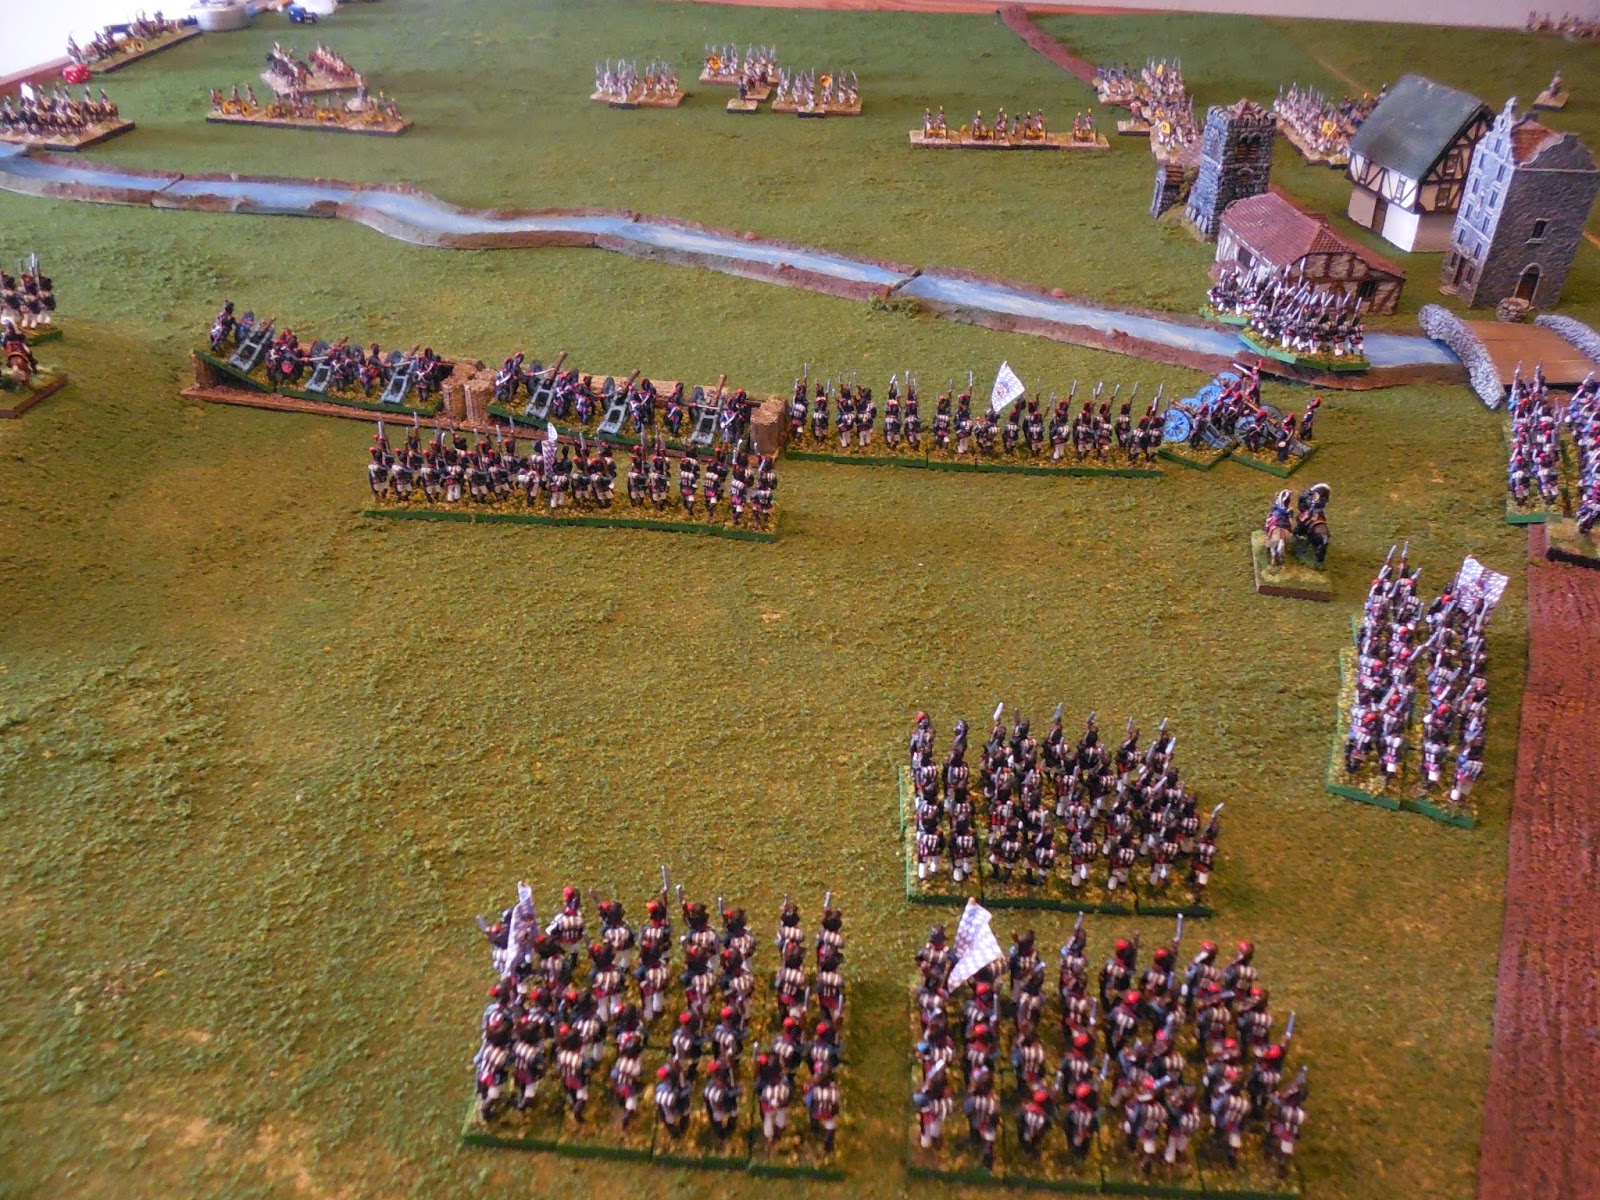
My left is extending as the Russians begin to move toward the largely vacant center. The Russians here are sort of spread out as if they all have different ideas of what they want to do.
My far right. The hill is a natural shield from the Russian batteries and the farm complex is now firmly occupied and includes an engineer attached.
My light cavalry brigade attempts to stall the Russian advance. The second Russian cavalry brigade and infantry brigade have entered the field. The Russians now begin to form a defensive line.
My artillery moves up and so does one almost suicidal Russian battalion. The artillery duel between the French and Russians has done nothing at this point.
The Russians close in here with some other isolated units. The Russian cavalry here didn't feel up to messing with the French units in this sector and decided to aim themselves toward the Bavarian flank to put pressure on the other side of the bridge.
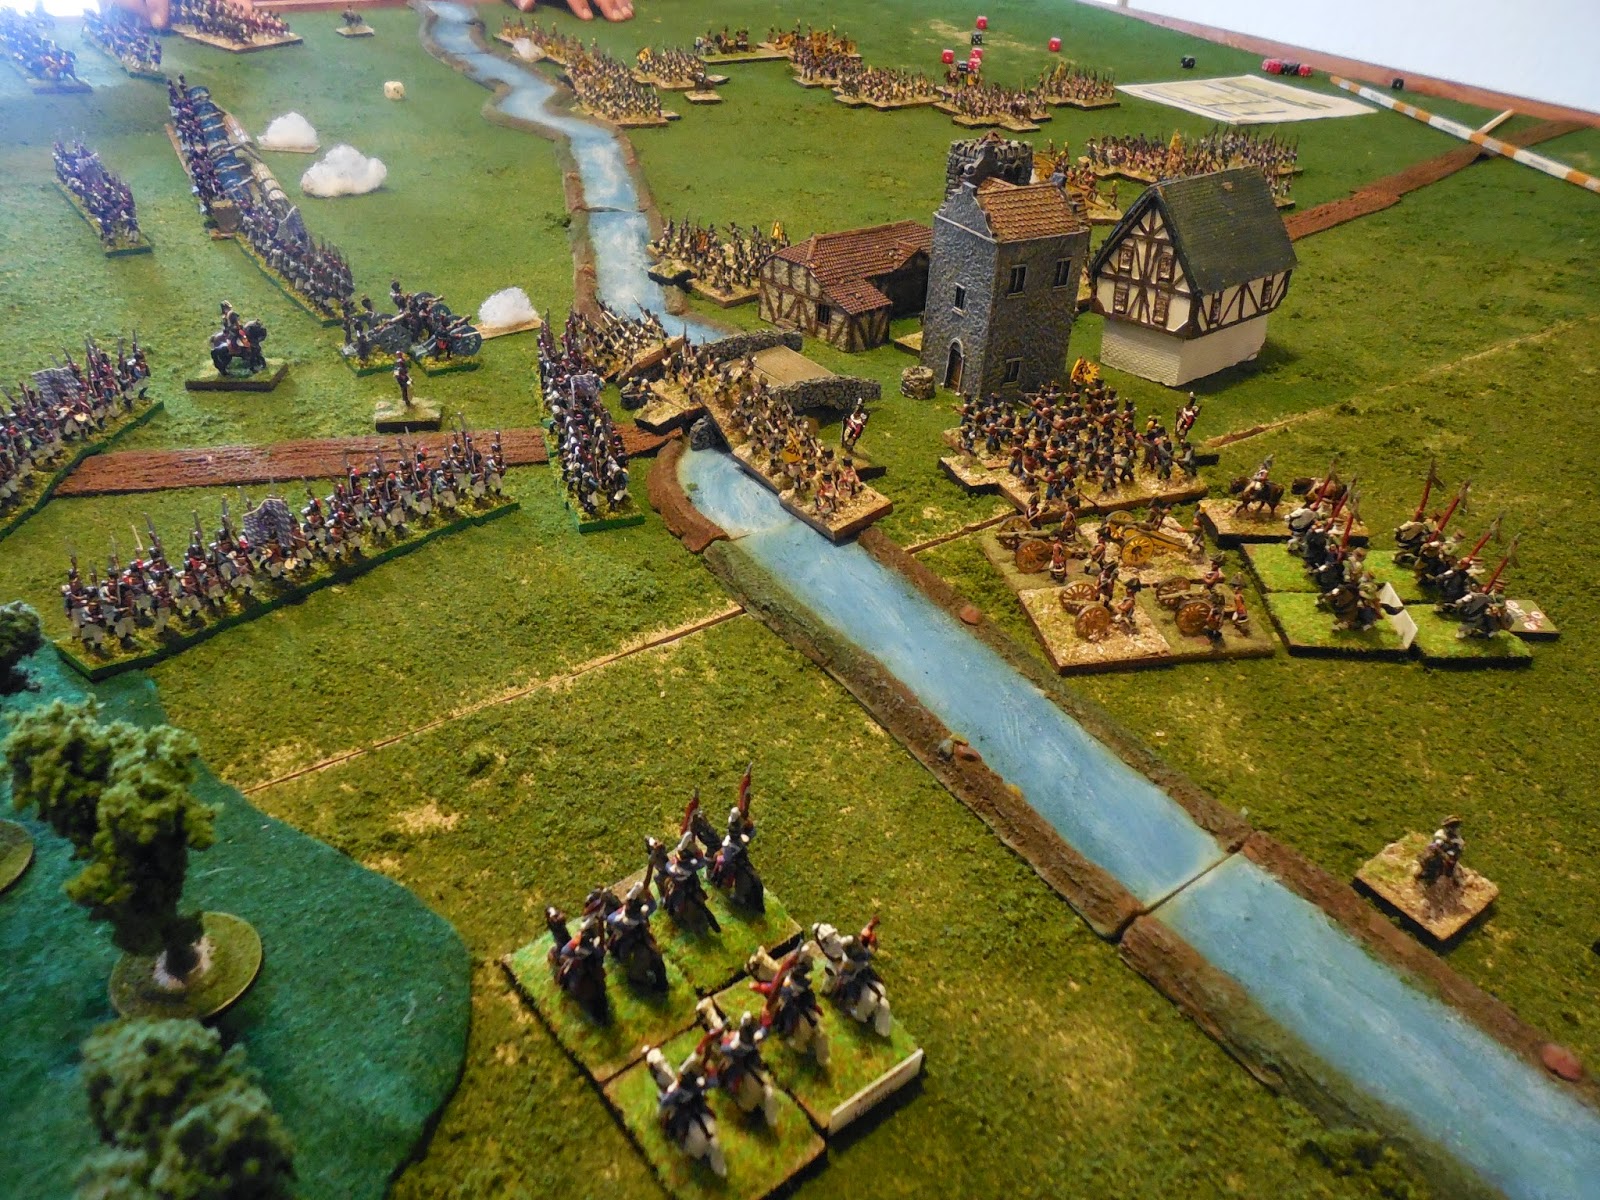
This area became a killing zone. The bridge and river posed a bottleneck that the Austrians and Russians had some difficulty in getting through. Had the redoubts been aimed here, it is unlikely the Austrians would have had a prayer in breaking through canister fire in a march column. The Russian cavalry were repulsed from the Bavarian square.
With the second Austrian infantry brigade on the field and moving forward, the Bavarian artilery has plenty of targets. Austrian Kuirassier are moving along the far flank looking to destroy some of the support around the redoubt.
Now the arrival of my dragoon brigades. I was short another horse artillery battery, however it would not have had any real room to deploy anyway. The hussars managed to destroy a Russian Hussar unit and scare off the unfortunate artillery for the time being. The chasseurs weren't quite as lucky, but then again the Russian hussars they were facing were a little better quality.
The brave (or blind?) Russian march column coming up over the hill will soon be charged by the 1st battalion of the 4th Legere. The march column is first shot and then broken during the charge. My artillery here is successfully hit by the Russian counter battery fire and forced to limber up. I simply placed the limbers here for reference that they may not fire for the time being.
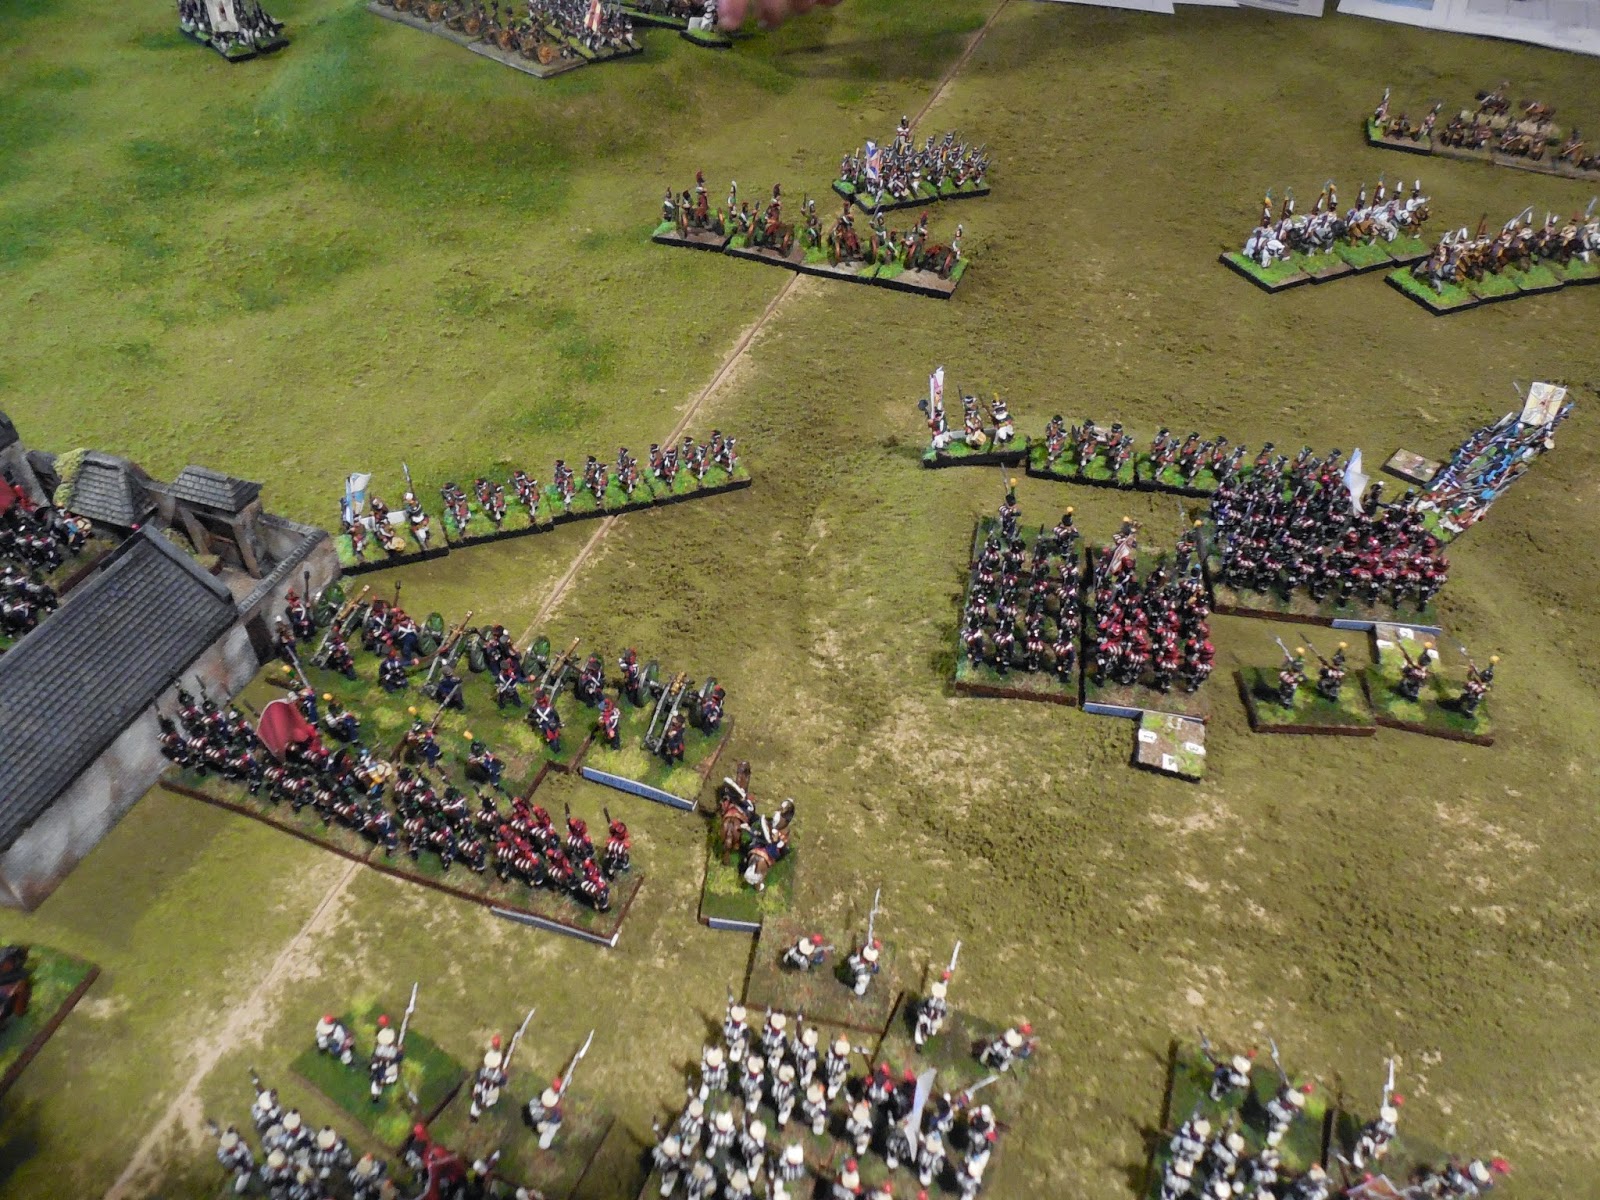
The 3rd battalion of the 36th line is dueling it out with a stray Russian battalion. Despite the skirmish advantage, they seems unable to get the upper hand even after the 1st battalion joins in. The Russian battery on the hill is also silenced and forced to limber up. Not sure why the limber has crawled over the guns, but that's another matter...
The Austrians and Russians have placed a combined arms assault against the Bavarian right. The Austrian infantry in column on the bridge were beaten off the field but only to be replaced by another who decides a line might be a better idea. The numbers of the Austrians are finally beginning to show.
The French light cavalry may have gained some control here, but between their presence and the obtuse Russian battalion's musketry, advancing is becoming a real problem. The Russians on the hill need to be cleared out so the French infantry can support the cavalry advance.
The suicidal Russian battalion marches right into the canister fire. The 4th Legere has largely gained the hill and now are in a position to try to wrestle away this sector from the Russians.
The 1st and 3rd battalions of the 36th line decide to charge and will be only be able to manage a draw, which will force them back. Now these two battalions are near breaking due to a couple of round of skirmish fire and this failed charge. The Bavarians can be seen having decided to push the Austrians off the bridge and occupy it.
The Austrians have crossed over the river and are not hesitant about assaulting any Bavarian unit in its path. The Bavarians on the hill to the left decide to bend back against the Austrian cavalry.
The marauding Russian cavalry are attempting to get around the tough Bavarian flank. The Austrians' number proved decisive in finally overwhelming the defenders of the bridge. The Redoubt is now facing a horde of Austrians who can't be killed off fast enough.
The 1st and 3rd battalions of the 36th line were routed by a Russian counter charge (which in retrospect, may not have been able to charge, but oh well). The 1st battalion of the 2nd Legere finished off the Russian battalion and joins with the 2nd battalion to try and take pressure off the collapsing Bavarian flank. Czar Alexander in the center will be forced to fall back. A Russian guard battalion decides to slowly advance, getting shot up the entire way. The Russian artillery was forced to limber up and was moved down to where it might be useful. The French garrison battalion and the remaining battalion of the 36th line now have a great opportunity to burst out and try to roll up this flank.

The Bavarians had exceeded their 1/3 break point but passed their first morale test. The second one was not so kind. On my final turn, I managed to destroy this Russian battalion that had been a thorn in my side and my hussars destroyed a battalion that chose to shoot and fight it out rather than form square. This put the Russians at their 1/3 mark. Given the turn number (18 or 19) then the Russians likely would not have stuck around.
But alas, it did not matter. The Austrians were to be in complete control of enough objectives so as to win the game technically. The game was to last 16 turns, but the end of the physical day was enough to call for the Austro-Russian army.
Losses were as follows: Russians seven infantry battalions, one battery and one cavalry regiment. Austrians, four infantry regiments, of which, two were large battalions. Bavarians five infantry battalions and two batteries of artillery. French, 1st & 3rd battalions of the 36th line.