Doing Castalla was a bit of a chore given the general lack of information available on the internet. Being one of the larger battles in Eastern Spain, I had suspected a wargamer's map to be found somewhere. Outside of finding the general map made from sketches, I had to create one using Battle Chronicler. I must thank Phil for his inspiration on his own
blog's battles using that program. Oman's
A History of the Peninsular War Volume VI contained good background information of the battle plan for Murray and Suchet. It was not as in depth as I would have liked (or expected), but it had enough information to allow the scenario to go forward. If anyone is wanting a copy of the deployment map, OOB and other scenario description I created, you may email me at: gcstates2006@gmaill.com
Here we see early on, the French right under Generals Harispe and Habert surging forward against Colonel Adam's Anglo-Sicilian brigade on the Anglo-Allied left. More in the center we have General Robert moving against General Mackenzie's division anchored atop the ridge. General Whittingham's Spanish division stands in reserve.
Robert's division looks to try and exploit a gap between Mackenzie's defensive line and the castle. This would turn out to be an important sector later in the battle.
General Clinton's Anglo-Sicilian division was really not engaged much during the historical battle and this would be not much different. Behind it, General Roche's Spanish division stands as a reserve force. There were certain scenario restrictions on how this force could become activated during the battle. It was one of the only forces that had elements of all arms, albeit not of much quality.
The French continue to approach and arrange themselves for the uphill assault. During the historical battle, I believe Robert's men were kept entirely in reserve. In this scenario, they were allowed to throw everything at the Anglo-Allies given the fact they were at a numerical disadvantage.
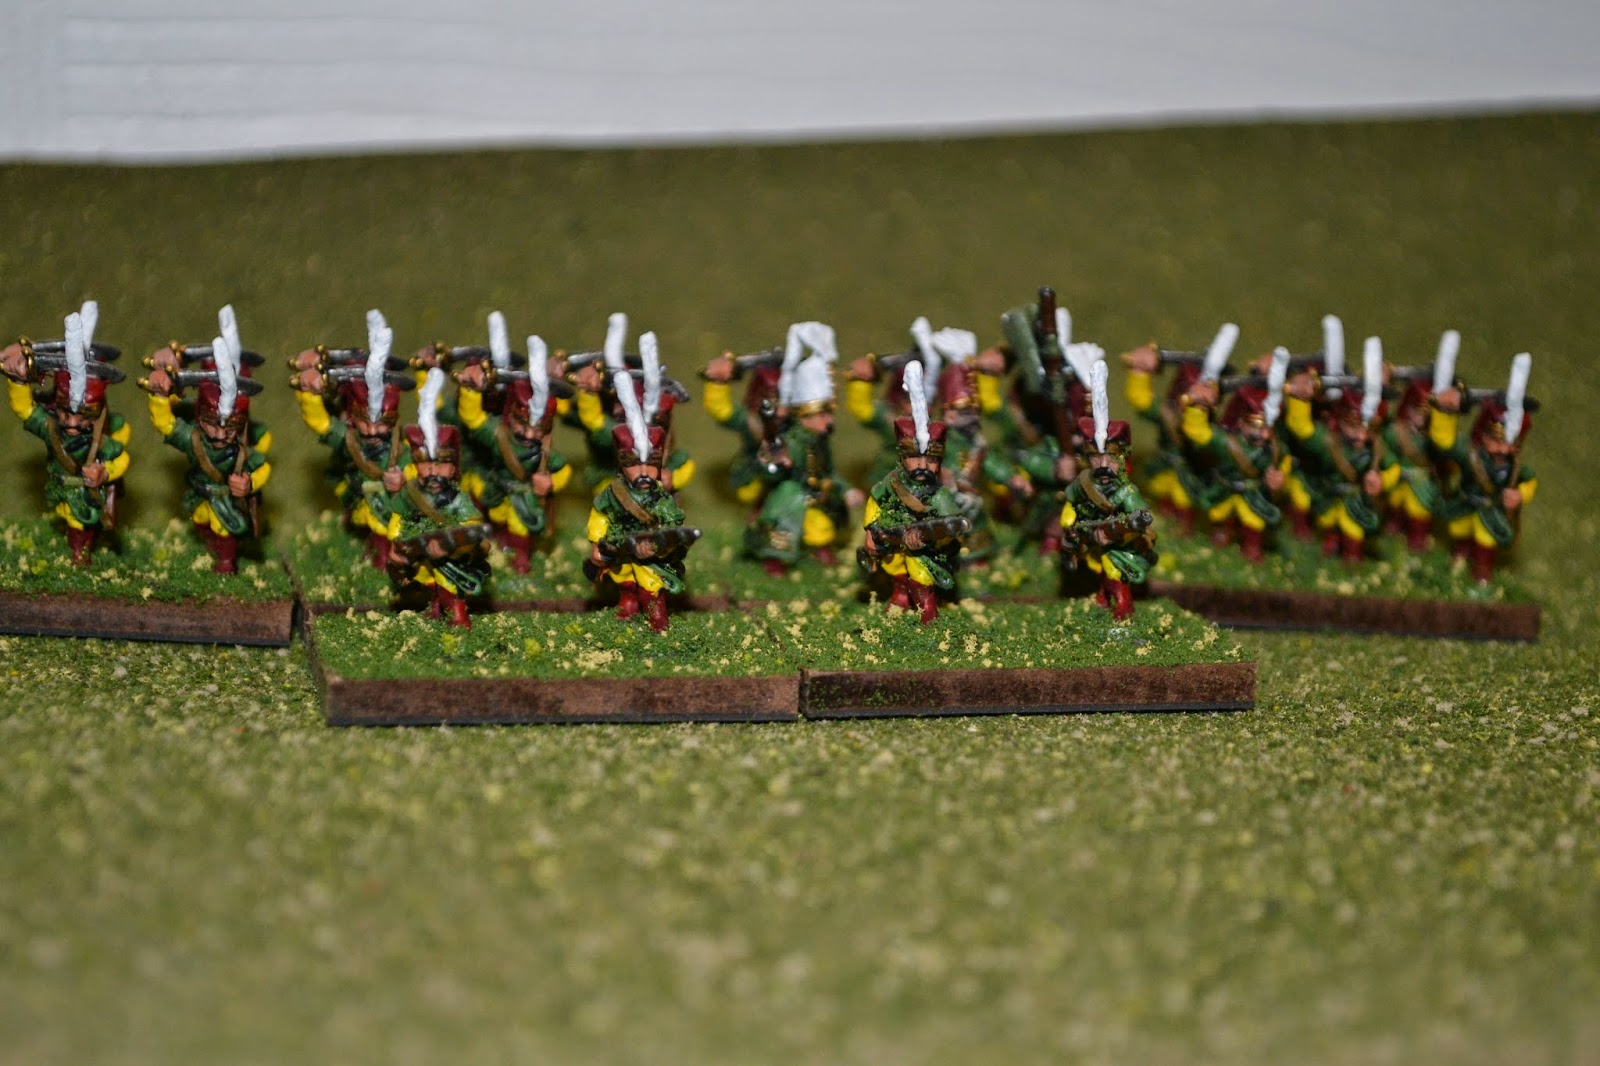
The Calabrian Free Corps and the Sicilian Light Dragoons begin to get up close and personal with Harispe's leading battalions. One of Habert's battalions can be seen inching closer, careful not to rush the twin British batteries atop the ridge line. Robert on the far end, the largest of the French commands, is still positioning itself. Having eight battalions, it had some punch against the opposing battalions of Mackenzie.
A much better view of the advance. Have to thank fellow group gamer Tim for the quick production of specific hills for the scenario.
After some cannon fire, the British battalion falls back behind an Italian unit (we had to use Portuguese as stand ins). The attempts to weaken each other's leading battalions had only a minor impact on the upcoming assault.
Slightly out of focus, but Clinton and Roche stand and await General Boussart's cavalry brigade. Clinton's force manhandles the guns to help bring them into range and goad the French from their distant position. It eventually works.
Robert's men finally make the climb. Disruptions begin to mount for the French, but not enough to halt the advance. To the extreme upper right, Habert's men do the same.
The Allies try to angle their battalions to try and line up more shots on the leading elements of the French assault. By this point, all of the French infantry forces were engaged in either firefights or melees.
Robert's men fight to take the gap in the line. The British battalion here will be broken leaving the other battalion on the end of the ridge to fight on almost alone.
Colonel Adam's men haven't done so well here. Harispe's men have knocked out some battalions and now Whittingham's Spanish find themselves now confronted with fighting the French. The Spanish 5th Grenadier battalion, the remaining battery on the center of the ridge and some Italians now keep the line intact. The British line troops here have not done well.
Boussart's cavalry and a stray battalion of Robert (looking back, this infantry battalion might have been out of command) slowly move up. Not pictured off to the left, is the French 4th Hussars who are trying to work there way down the other side of the flooded stream. The slow artillery duel here is largely ineffective and only of nuisance value.
Robert's division now stands to take this sector unless some reserve are brought up. At this point, Roche is still unable to be activated. Since I was commanding Roche and Clinton, I had only Clinton to do something with here. I detached a British battalion to go around the castle and village to help plug the gap, but it will be another couple of turns before they can come up.
The British units from Mackenzie and Adam have essentially been all broken and it is up to the second class Spanish and various Italian units to hold on. The 20th Light Dragoons makes a charge attempt on the far flank to stem the tide. All of the close proximity musket fire is beginning to take its toll on the French battalions.
The remains of Mackenzie's command refuse their flank against Robert's men. One of Clinton's battalions can just barely be seen popping it's head around the back of the village. The artillery limbered and fell back to prevent from being overran. In the rear, the Sicilian Light Dragoons that were sent to aid the center were recalled to assist the flank. This counter order kept them out of the fighting for several turns.
Clinton's detached battalion is now on the scene just after two Allied battalions holding the edge of the ridge broke. The good thing here is that the two battalions now occupying the position are completely blown and will need to recover before trying to charge any further. Being in canister range and with a fresh battalion coming up, it doesn't look good for the French here.

It was here, that my two other fellow Allied players had to leave for the day. As it was getting late, I decided since I could stay (most of the figures on the table were mine and I made the scenario, so decided to finish it to the break point). The French needed to only break two more Allied units and the Allies would need to break four more French. During the following turn, I managed to destroy two French battalions (one from Harispe and one from Robert) through canister fire. The Sicilian Light Dragoons managed to counter charge a French battalion attacking what was left of Adam's command. The Sicilian cavalry did well and broke the French battalion. Had my Reaction phase rolling been slightly better, I would have won at this point, despite the appalling loses.
Roche's men had been activated and quickly marched to the center, but they were not fast enough. Clinton's battalions managed to repel a few French cavalry charges without any losses.
What I could not control were the Spanish battalions from being so disadvantaged in combat against French battalions with better morale and superior numbers. Two Spanish battalions broke, and that ended it. It was a French minor victory, unlike the historical battle.
In designing the scenario to fit in with the historical context of the situation, I made the Spanish and most of the Italians with Shaky morale and only minimal training (Amateur). Given the previous few skirmishes with the French that had not ended well, the Allies were not feeling very confident. Lt. Gen. Murray had been wanting to retreat but was finally talked out of it. Seeing how the Allied commander was not confident and considering the losses the Spanish had suffered during the previous skirmishes, it seemed appropriate not to make them Reliable Veterans. The Allies had the numerical advantage combined with terrain features good for defending, but the overall quality was dubious. Murray and Suchet both suspected the Spanish and melting pot of Italian troops (more properly, Neapoltian and Sicilian for the most part) would not stand. Had Suchet made a full attack, he may have had better chances as we can see here from this scenario.
I tried to keep the deployment zones as close to accurate as best could be discerned from some conflicting records. The castle was of no particular interest to Suchet, who had neither the manpower to storm it nor the time to place guns inside of it. Murray tossed in a small garrison just to hang on to it. Knowing this, I had a garrison placed in the castle, but did not permit it to take part considering the historical realities of a relic castle. Murray wanted it held to split the French attack up, which it did. I also refused to allow any command radius or any value at all on Murray due to his general shifty mind and overall incompetence. Little nuances like these are important. The scenario was fun and the work involved gave me a good understanding of this often forgotten theater of the Peninsular War.